EN
EN 
 English
 中文简体
中文简体

Mastering Manual PET Sealing and Strapping: A Step-by-Step Guide for Industrial Efficiency
In today’s fast-paced manufacturing and logistics sectors, PET (Polyethylene Terephthalate) strapping remains a cornerstone for securing palletized goods. A manual PET sealing and strapping machine offers cost-effective, reliable bundling for businesses prioritizing flexibility and precision. However, improper operation can lead to material waste, safety risks, or compromised load integrity.
1. Pre-Operational Safety Checks
Before initiating any strapping task, prioritize safety and machine readiness:
Inspect Components: Verify the integrity of the tensioning wheel, sealing plate, and cutter blade. Replace worn parts to prevent slippage or incomplete seals.
Lubrication: Apply heat-resistant grease to friction points (e.g., guide rails) as per the manufacturer’s specifications.
Workspace Setup: Ensure the machine is on a stable, level surface with adequate ventilation to dissipate heat from the sealing process.
PPE Compliance: Operators must wear heat-resistant gloves and safety goggles to protect against molten PET splatter.
2. Material Preparation & Machine Calibration
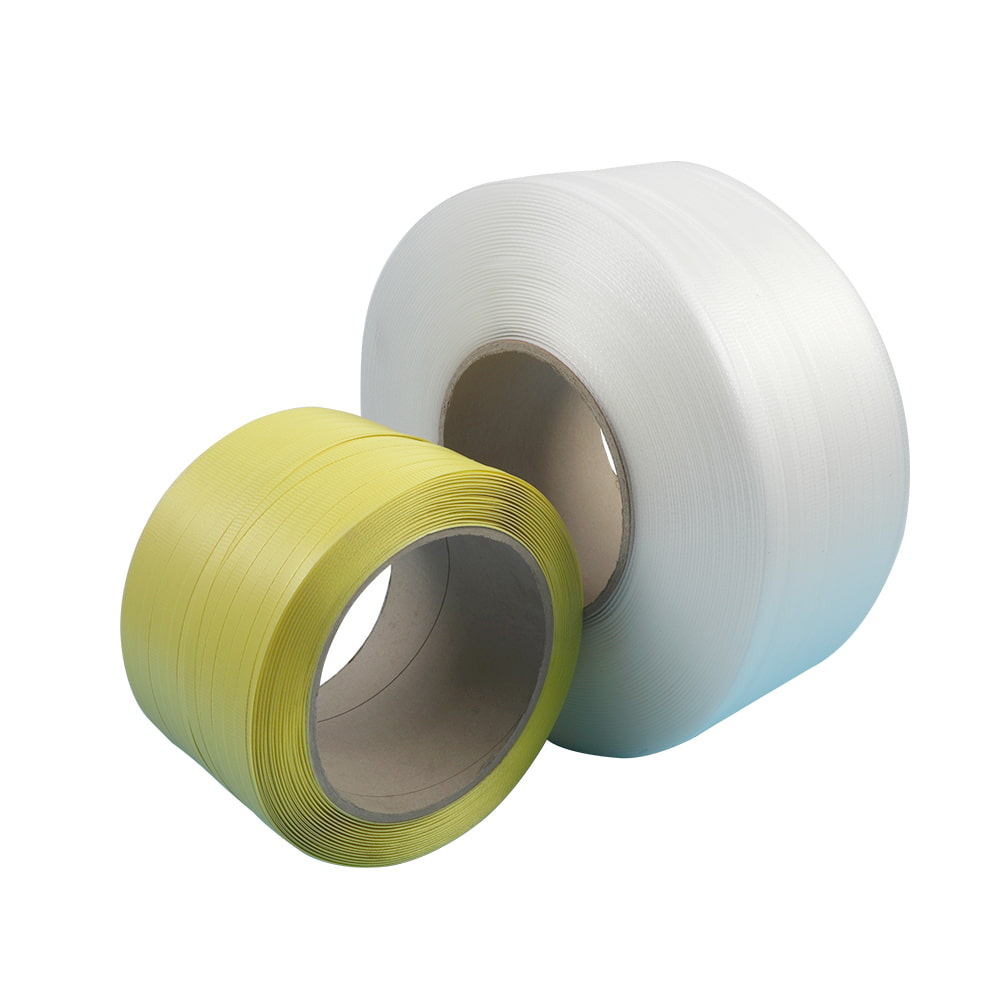
PET Strapping Selection:
Choose strapping width (commonly 12mm or 16mm) and tensile strength (e.g., 400kg–800kg) based on load weight. PET’s low-stretch properties make it ideal for rigid bundling.
Calibration Steps:
Temperature Adjustment: Set the sealing plate to 220°C–260°C (varies by PET thickness). Overheating degrades strap integrity; underheating causes weak seals.
Tension Control: Adjust the tension wheel to 70%–80% of the strap’s maximum tensile strength. Excessive tension risks strap breakage; insufficient tension leaves loads unstable.
Feed Alignment: Position the strap guide to ensure straight feeding, avoiding twists that compromise seal uniformity.
3. Operational Workflow: Precision in 5 Steps
Step 1: Load Positioning
Center the palletized goods beneath the strapping area. Uneven weight distribution increases strap failure risk.
Step 2: Strap Feeding
Thread the PET strap through the machine’s feed path, ensuring it loops fully around the load. Manual machines require operators to pull the strap taut before securing.
Step 3: Tensioning
Engage the tension lever smoothly. Listen for consistent friction sounds; abrupt movements may snap the strap. Hold tension for 2–3 seconds to lock the grip.
Step 4: Sealing
Activate the sealing lever to fuse the overlapping strap ends. A proper seal shows a glossy, bubble-free weld line. Discard seals with visible cracks or dull textures.
Step 5: Cutting & Release
Use the integrated blade to trim excess strap. Avoid leaving sharp edges that could damage goods or injure handlers.
4. Post-Operation Maintenance
Daily Cleaning: Remove PET residue from sealing plates using a brass brush (abrasive tools scratch surfaces).
Weekly Inspection: Check electrical connections and fastener tightness. Loose components cause vibration-related wear.
Monthly Calibration: Reassess tension and temperature settings using a digital thermometer and dynamometer.
5. Troubleshooting Common Issues
Weak Seals: Increase temperature by 10°C increments or replace contaminated sealing plates.
Strap Slippage: Clean tension rollers with isopropyl alcohol; recalibrate tension settings.
Uneven Feeding: Realign the guide channel or replace deformed straps.